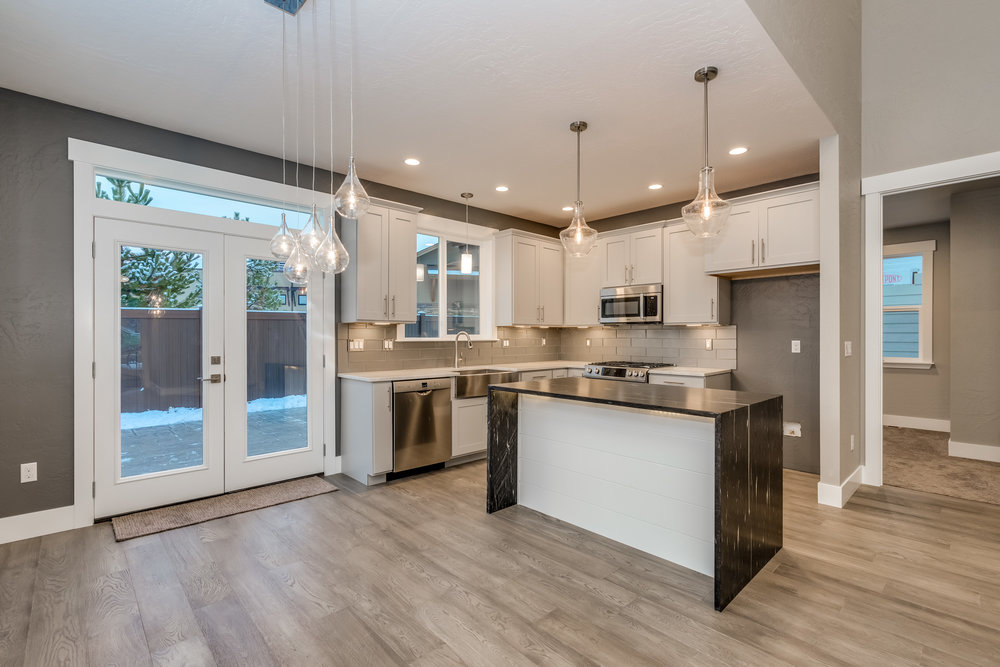
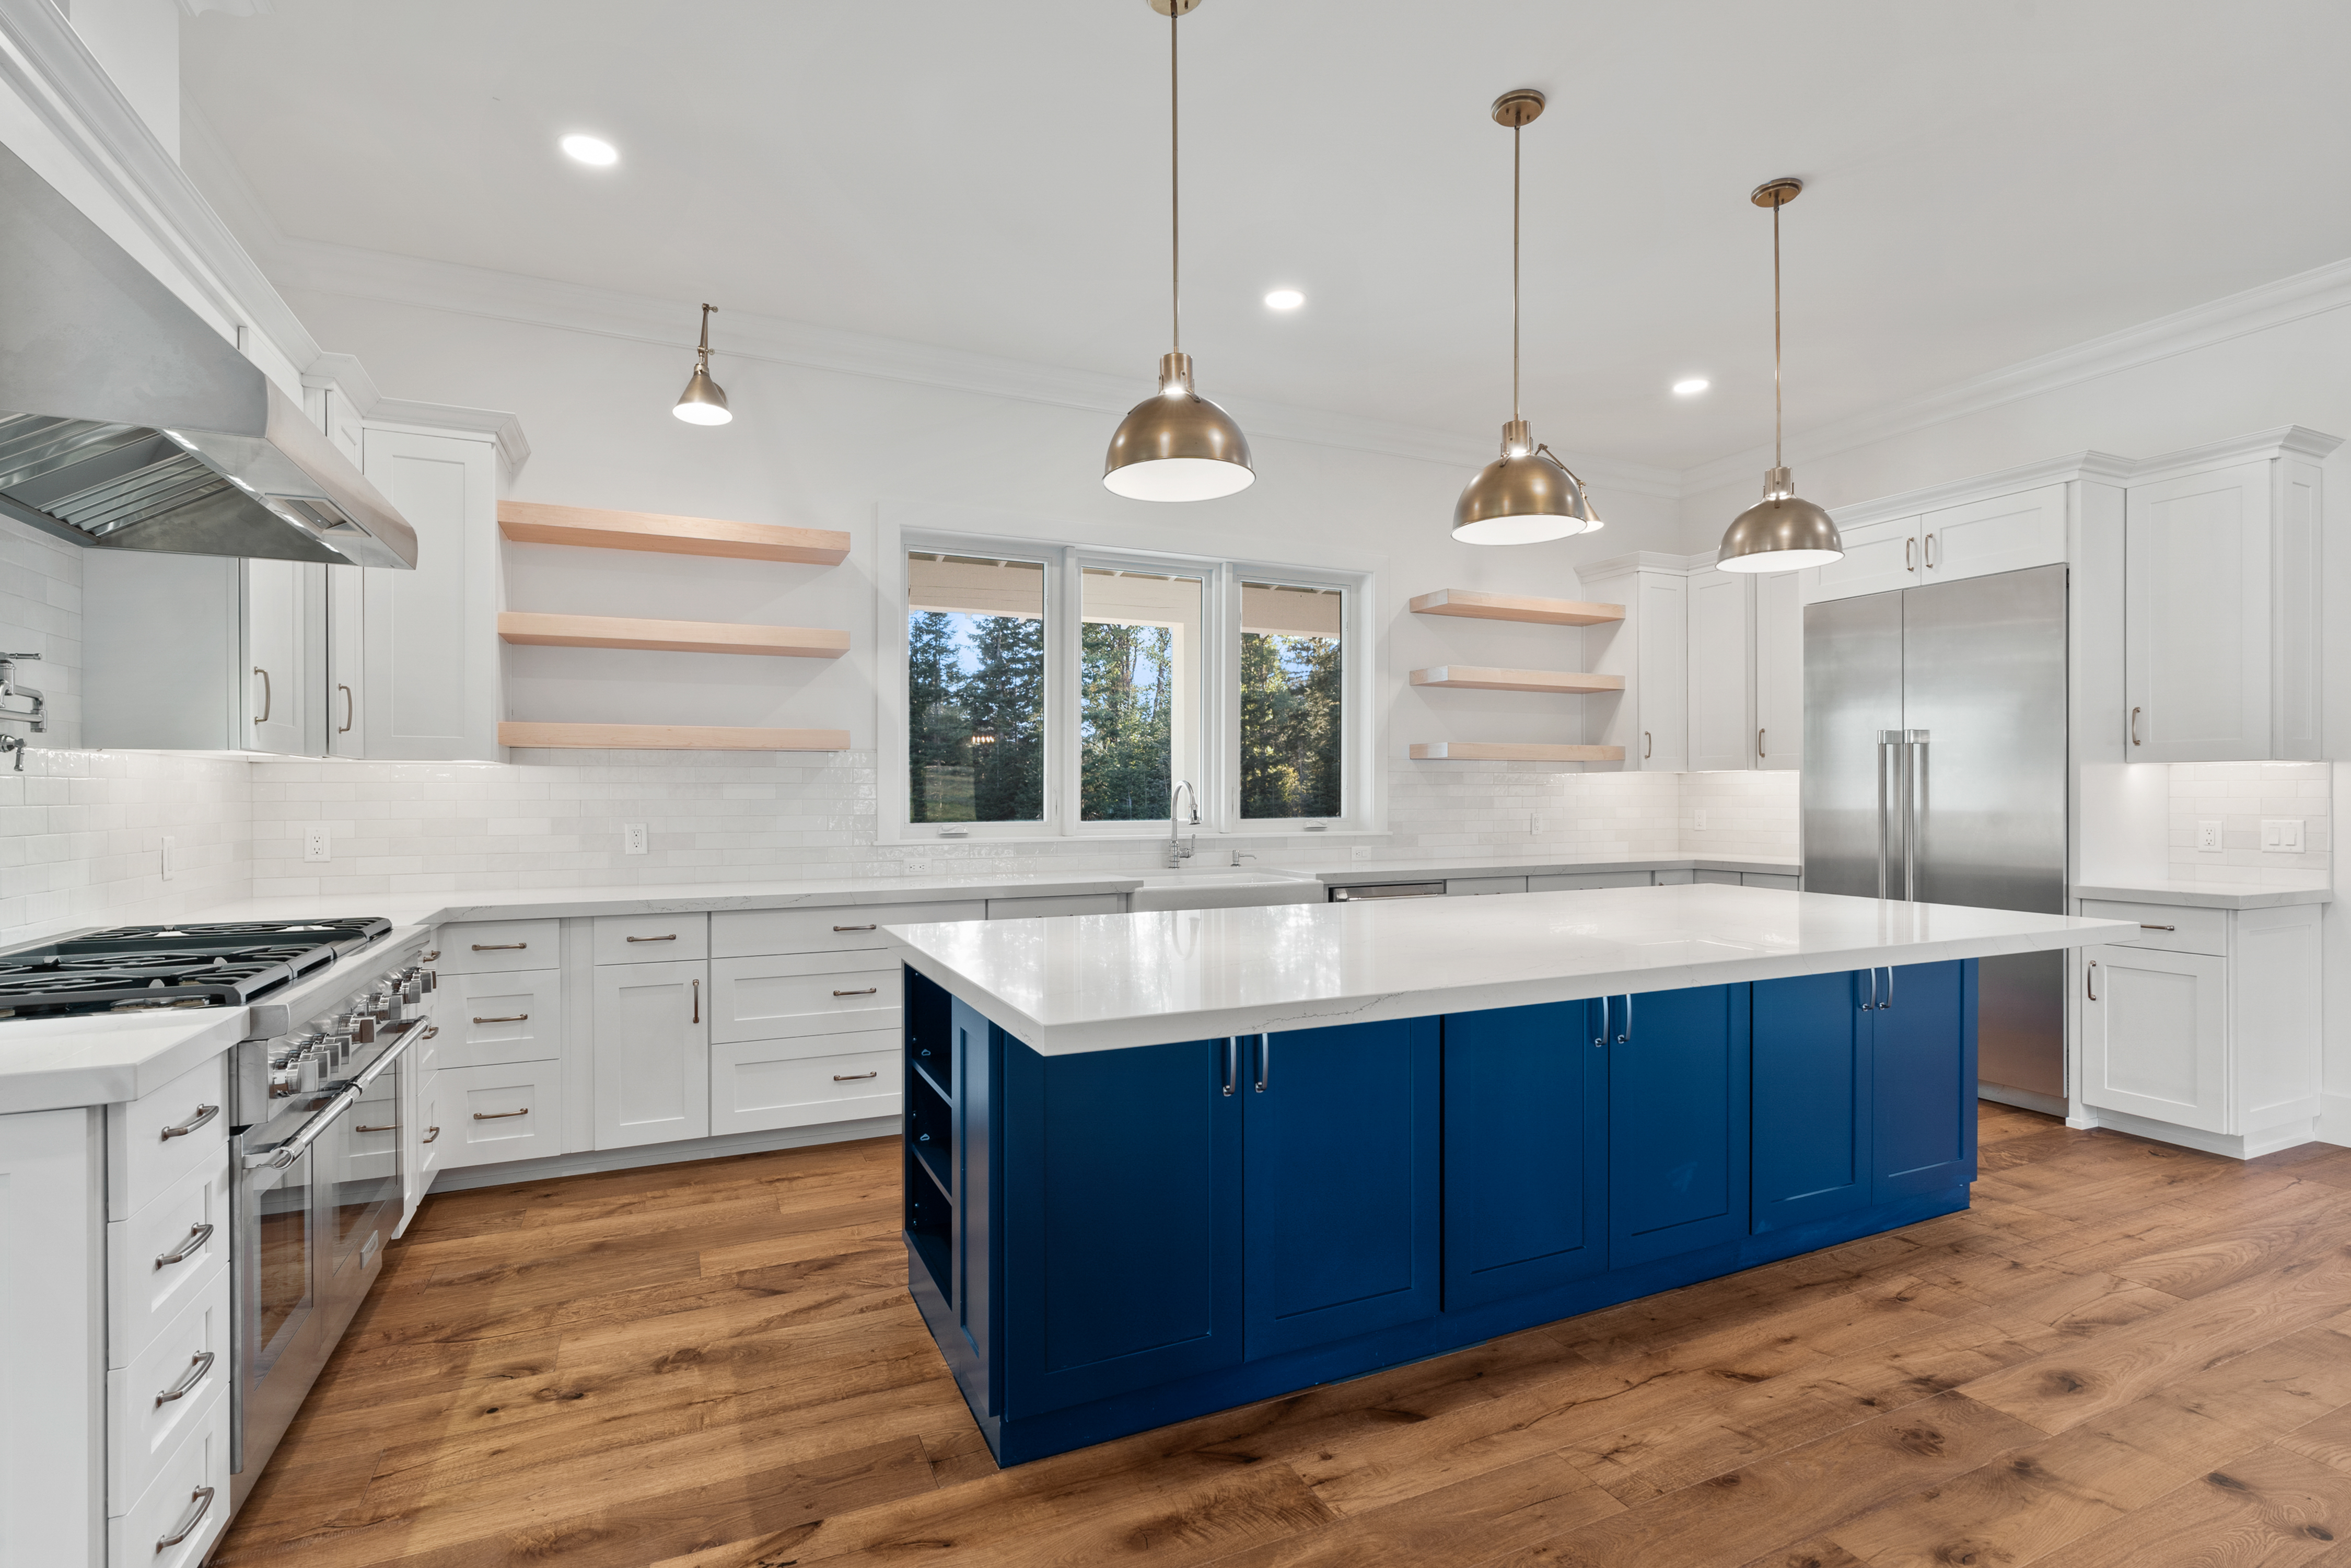
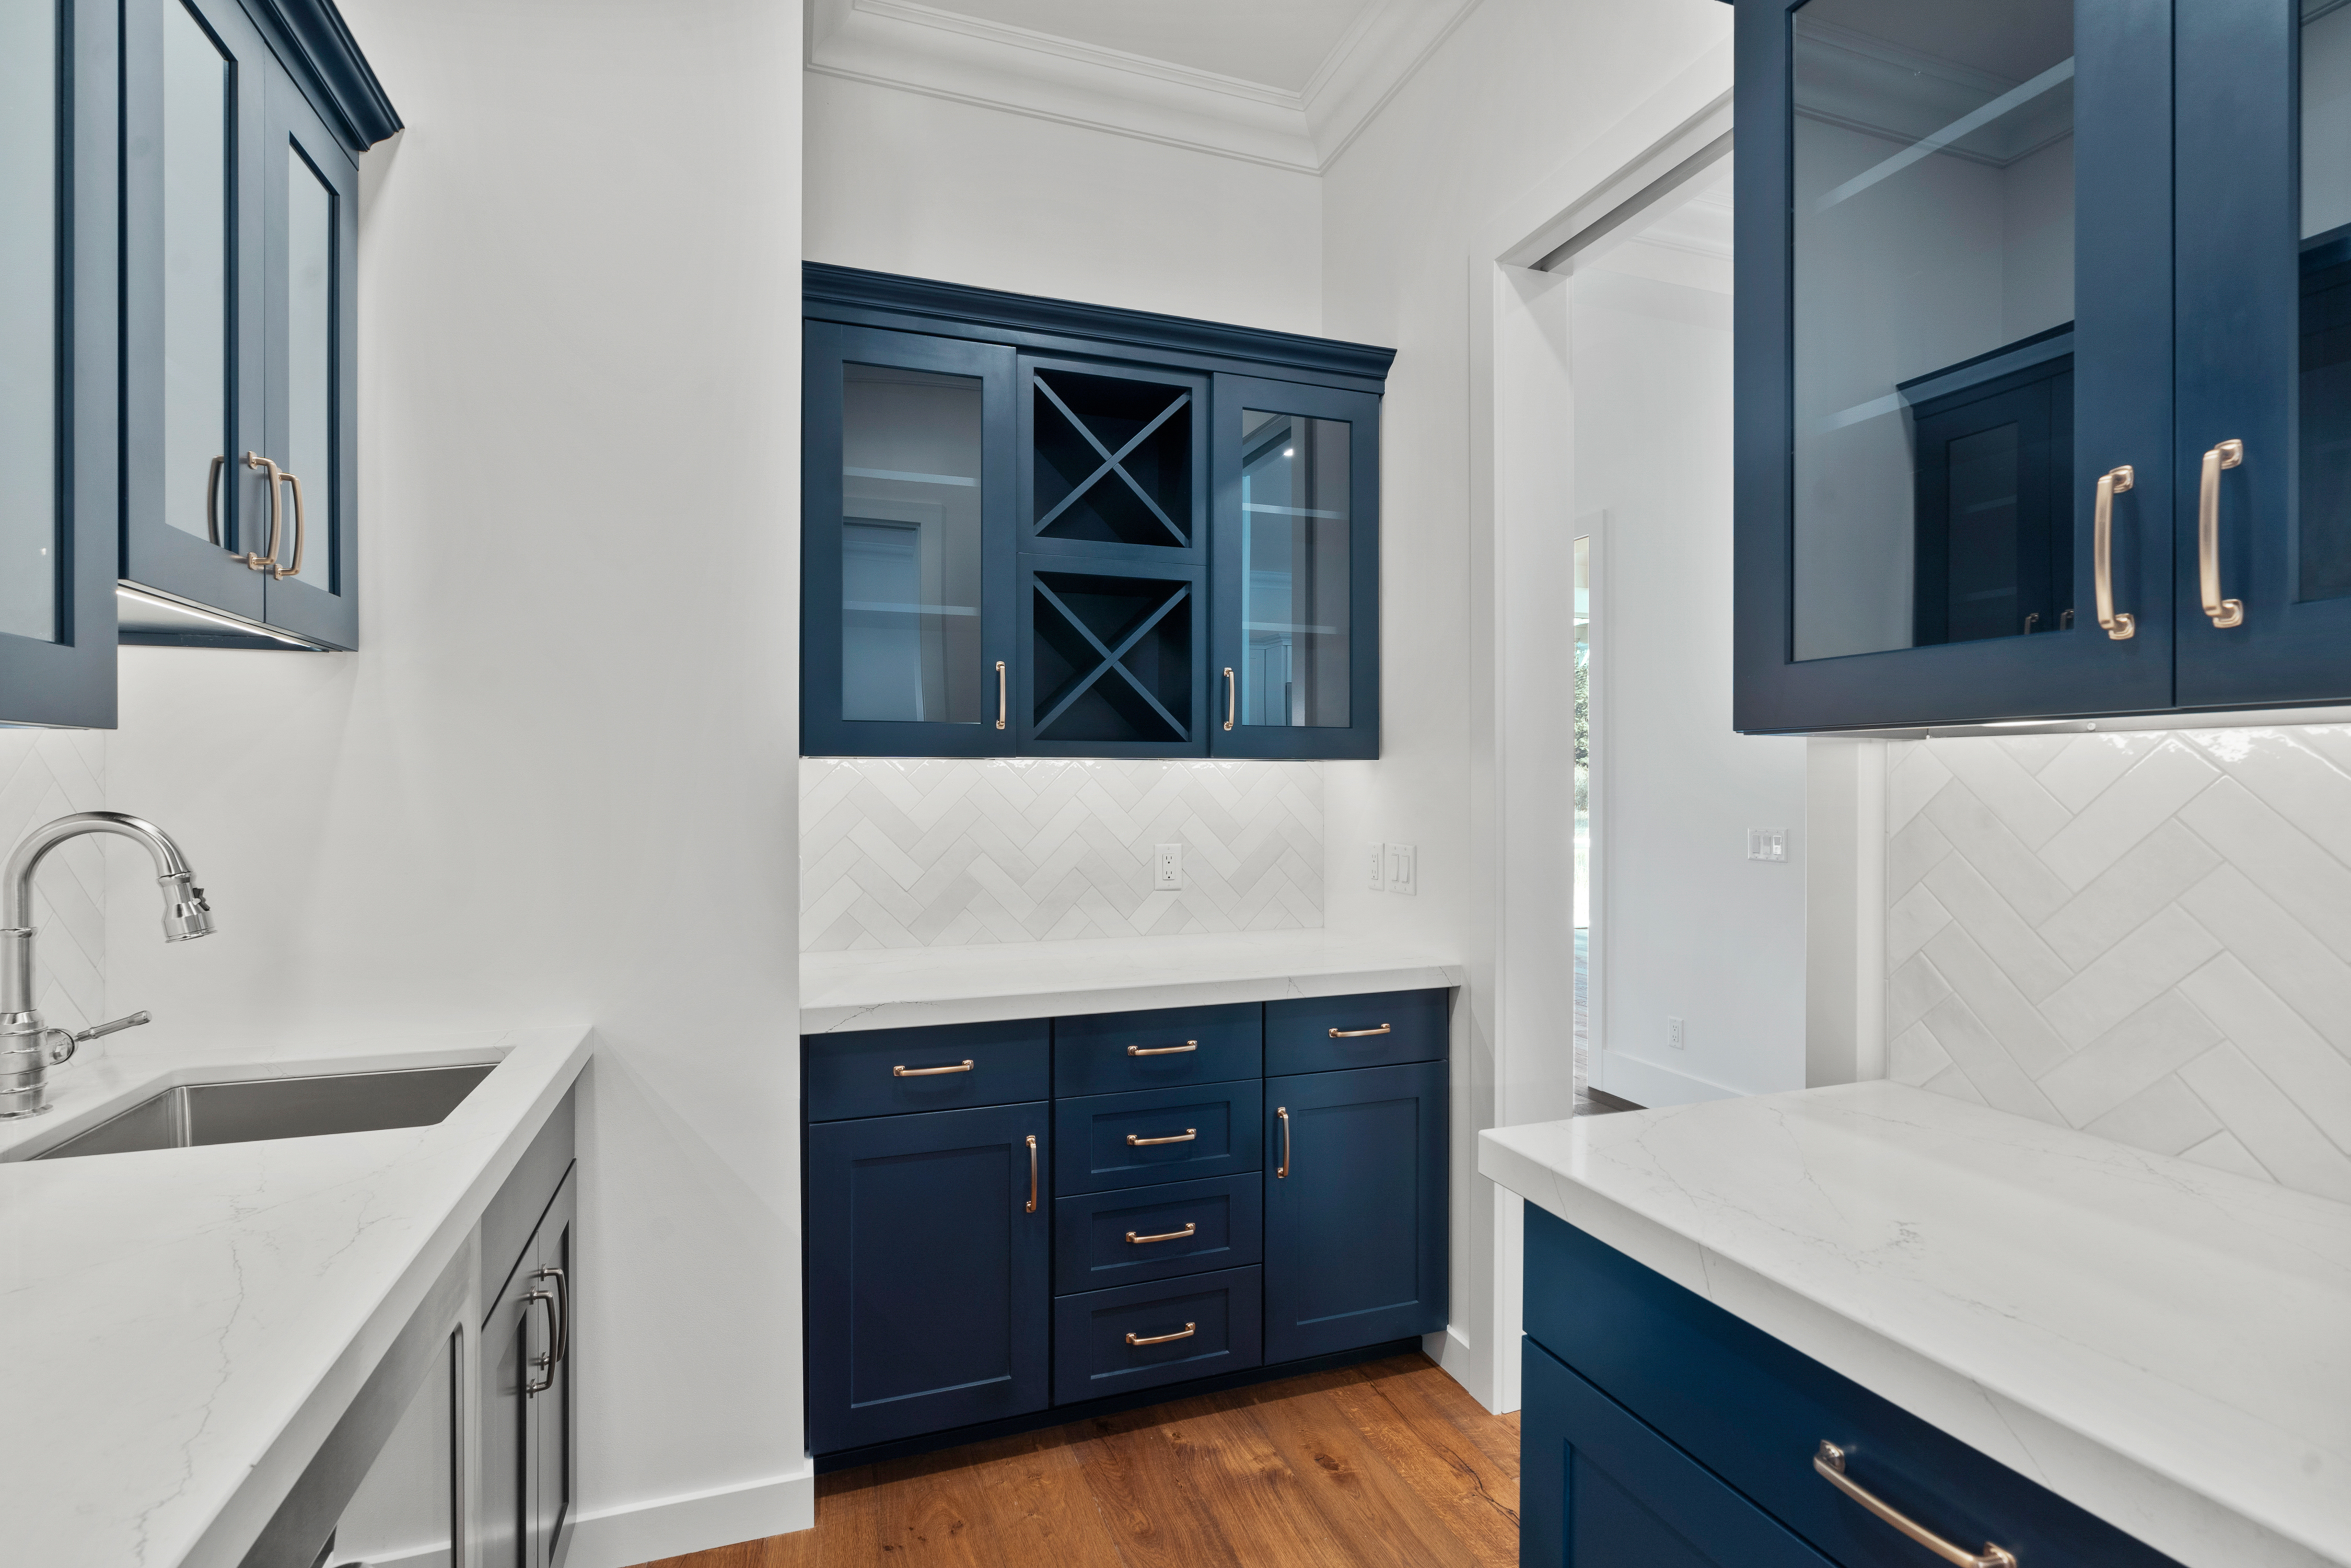
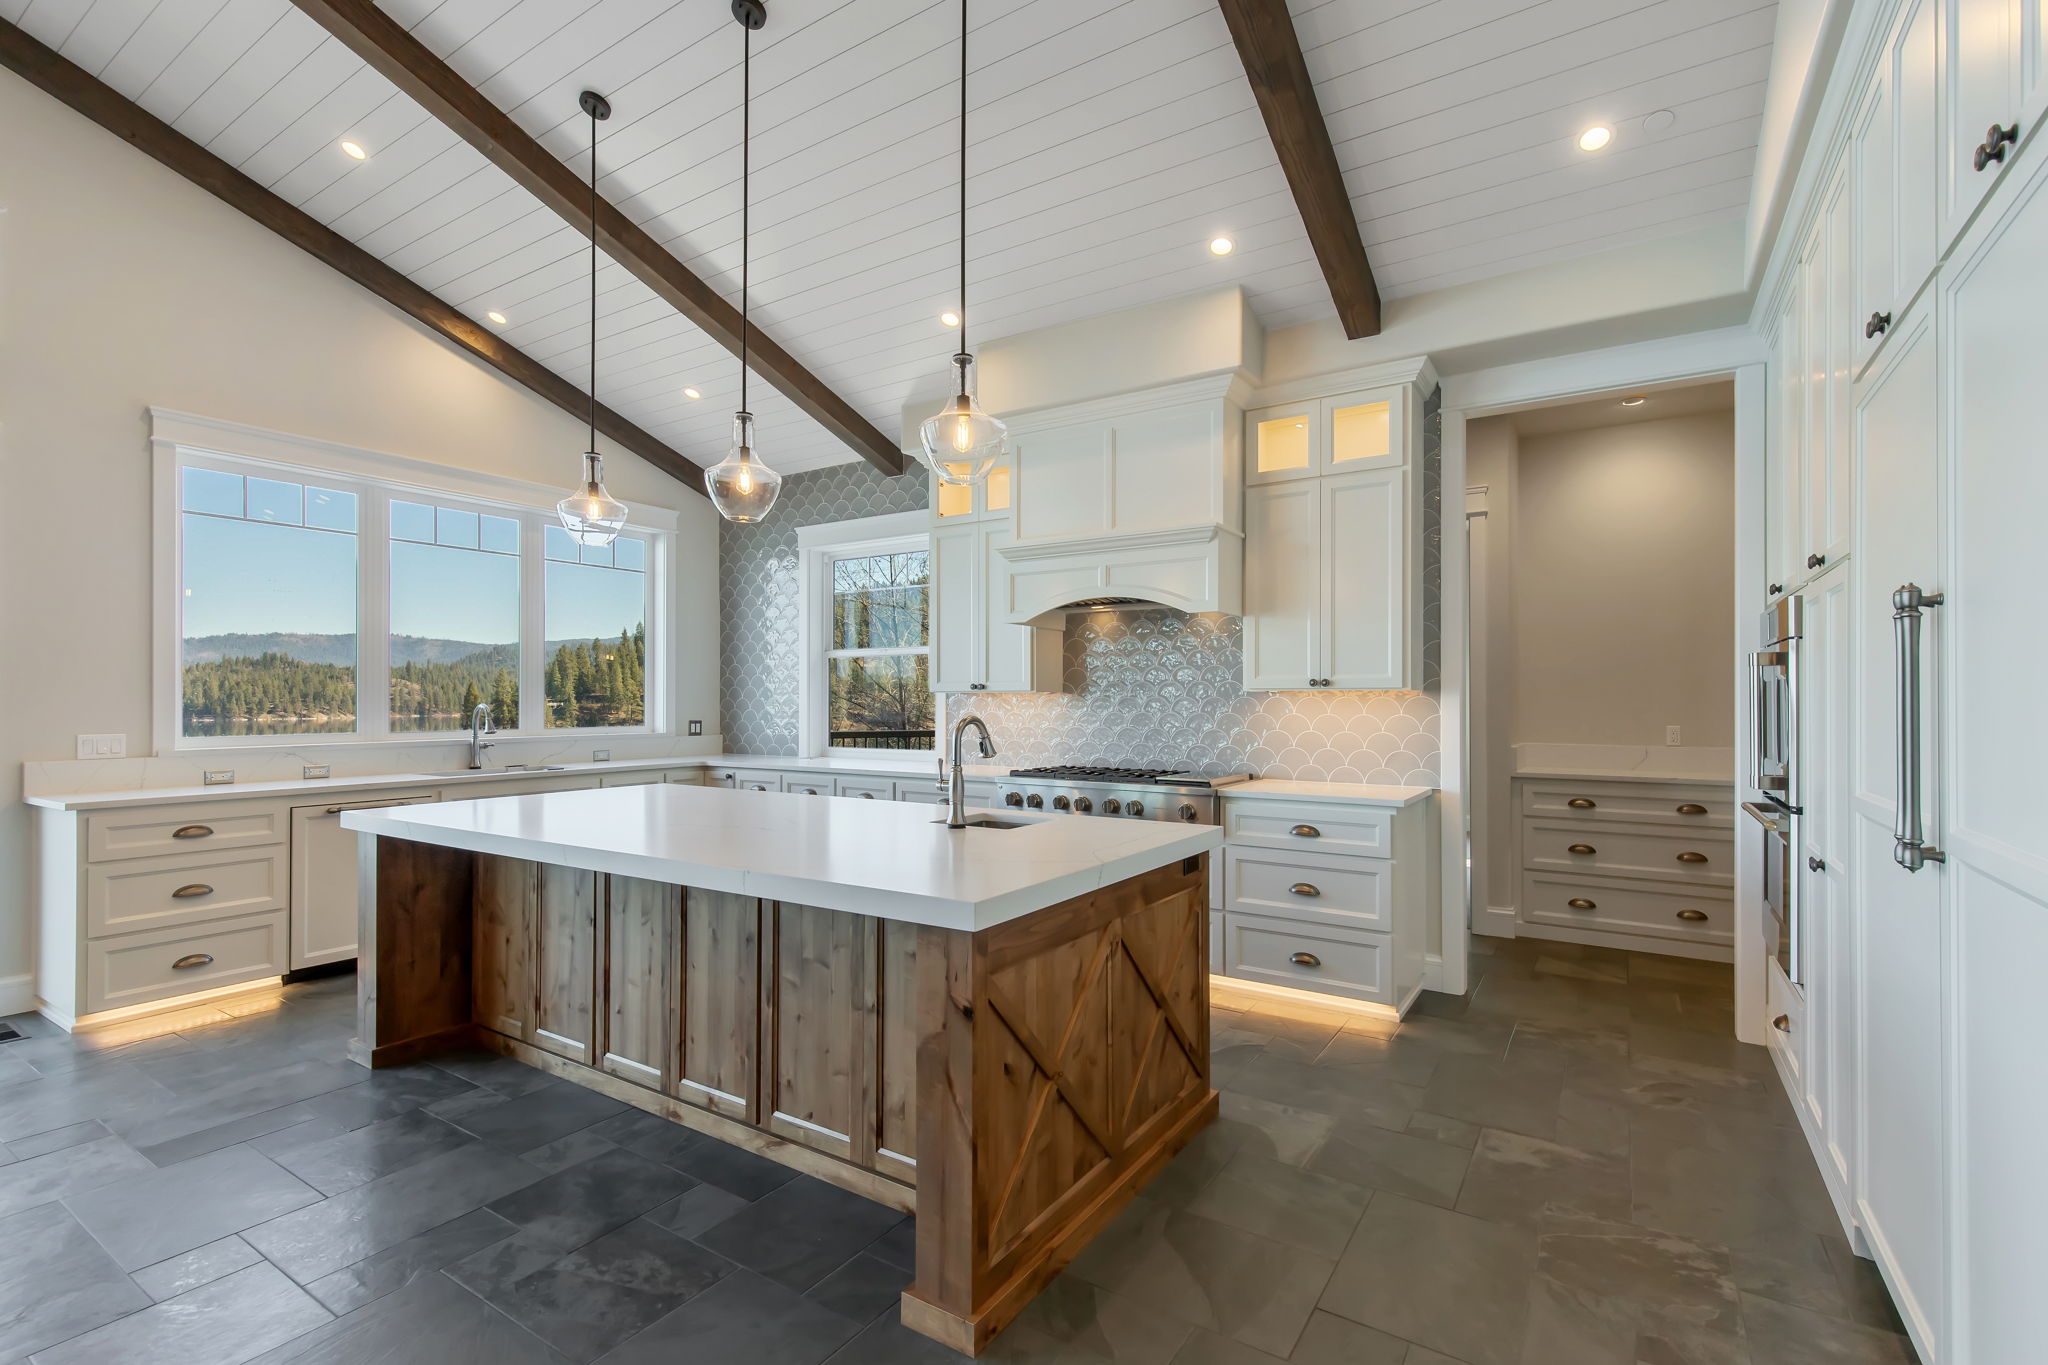
Painting kitchen cabinets can transform your kitchen at a fraction of the cost of replacing them. Here are the key points to know:
Preparation
- Remove Doors and Hardware: Take off all cabinet doors, drawers, and hardware (handles, knobs, hinges).
- Clean Thoroughly: Cabinets need to be free of grease, grime, and dust. Use a degreaser or a mixture of water and a grease-cutting detergent.
- Sand Surfaces: Lightly sand all surfaces to ensure the paint adheres well. Use a fine-grit sandpaper (220 grit).
- Fill Holes and Dents: Use wood filler to fill any imperfections, then sand those areas smooth.
Priming
- Choose the Right Primer: Use a high-quality, bonding primer suited for the material of your cabinets (wood, laminate, etc.).
- Apply Evenly: Use a brush for detailed areas and a roller for flat surfaces. Ensure even coverage and allow proper drying time as per the primer’s instructions.
Painting
- Select Quality Paint: Semi-gloss or satin finishes are recommended for kitchen cabinets due to their durability and easy-to-clean nature.
- Apply Thin Coats: Multiple thin coats are better than one thick coat. This reduces the chance of drips and ensures a smoother finish.
- Use the Right Tools: Use high-quality brushes and rollers. A fine-bristle brush is good for detailed work, and a foam roller can help achieve a smooth finish on flat surfaces.
Techniques
- Brush Techniques: Use long, even strokes. Avoid over-brushing, which can leave brush marks.
- Roller Techniques: Roll in one direction to avoid texture from the roller showing up in the final finish.
- Spraying: For a professional finish, consider using a paint sprayer. This method can provide a smoother, more even finish but requires more preparation and masking to protect surrounding areas.
Drying and Curing
- Adequate Drying Time: Allow each coat to dry thoroughly as per the paint manufacturer’s recommendations. This usually means waiting at least 24 hours between coats.
- Curing Time: Paint can feel dry to the touch but still be soft. Allow cabinets to cure for a few days before reassembling and for a couple of weeks before subjecting them to heavy use.
Reassembly
- Reattach Hardware: Once the paint is fully cured, reattach the hardware. Consider updating the hardware for a refreshed look.
- Rehang Doors and Drawers: Carefully rehang doors and reinsert drawers, ensuring they are properly aligned.
Tips and Tricks
- Work in a Dust-Free Environment: Minimize dust and debris that can stick to the wet paint.
- Label Everything: Label doors and hardware to make reassembly easier.
- Use Painter’s Pyramids: These small stands can elevate doors and drawers off the work surface, allowing you to paint edges and surfaces without waiting for one side to dry.
Safety
- Ventilation: Ensure good ventilation to avoid inhaling fumes.
- Protective Gear: Wear a mask, gloves, and eye protection while sanding and painting.
By following these steps and tips, you can achieve a professional-looking finish on your kitchen cabinets.

